First Lost Tooth Ideas That Feel Magical Without Becoming a Huge Production
First Lost Tooth Ideas That Feel Magical Without Becoming a Huge Production
Some childhood memories sound lovely until the parent becomes the event planner, stylist, cook, and cleanup crew. The Tooth Fairy’s First Visit does not need to become that kind of project. The goal is one clear beginning, one shared middle, and one small way to remember the ending.
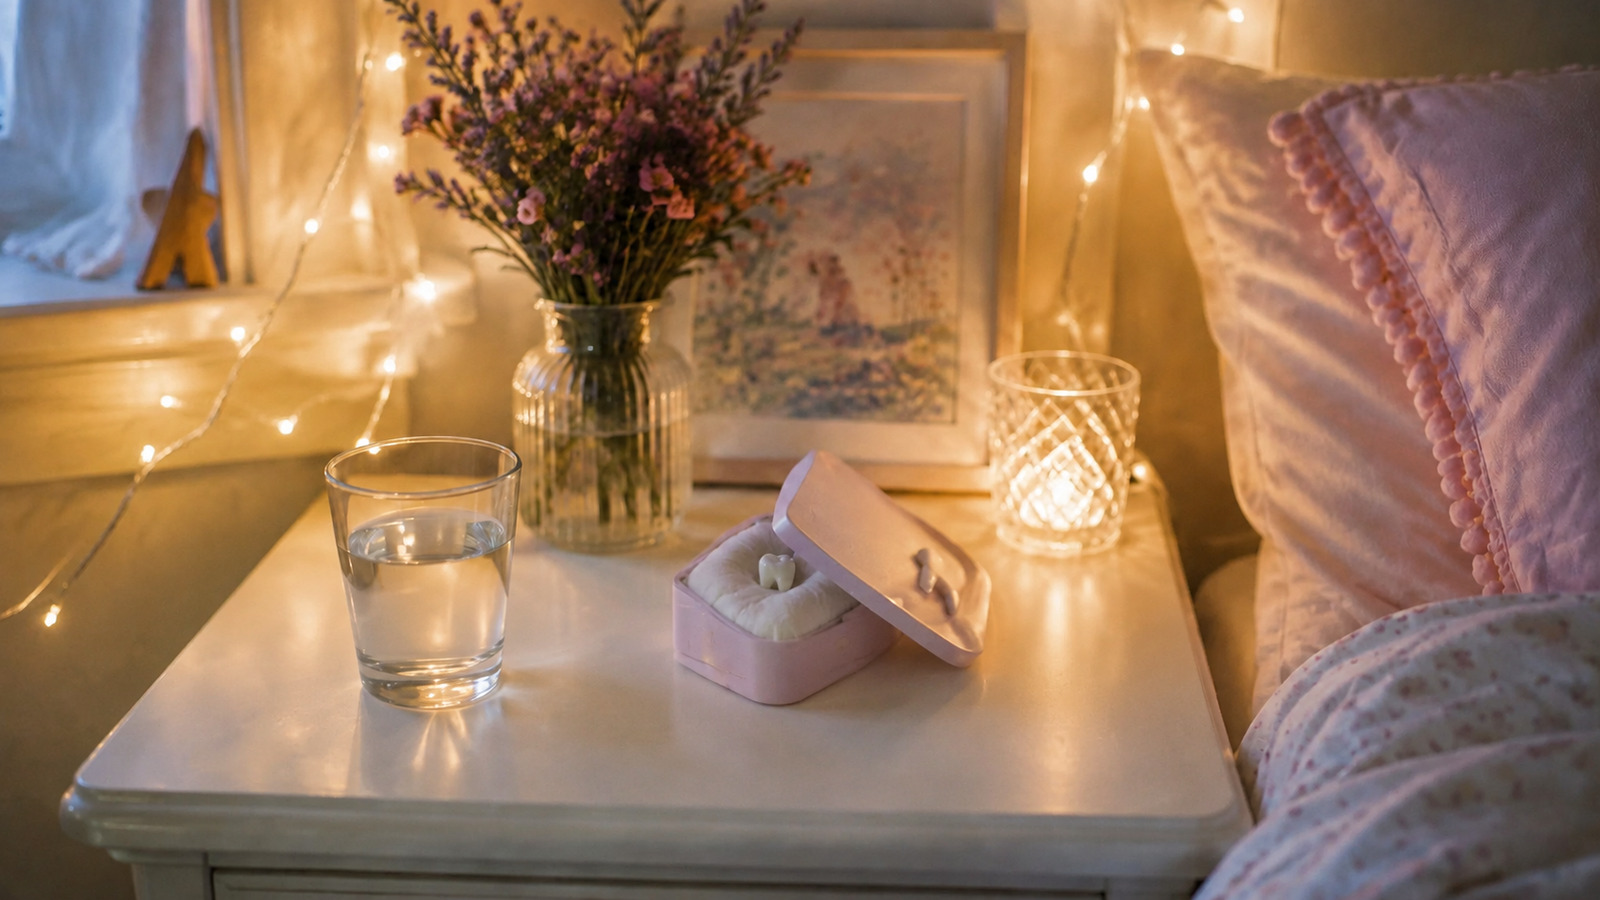
Turn one tiny milestone into a calm, sparkling memory with a bedside setup, a fairy exchange, and a morning keepsake. The easiest way to make that happen is to choose a hero element and let everything else support it.
Start with the version your real day can hold
The short version is simple: a note, a tiny trail, and a special morning envelope. The full version adds more ceremony: a fairy door welcome, bedtime ritual, keepsake exchange, and next-morning celebration. Both are complete because both give the child a threshold, connection, and closure.
What you actually need
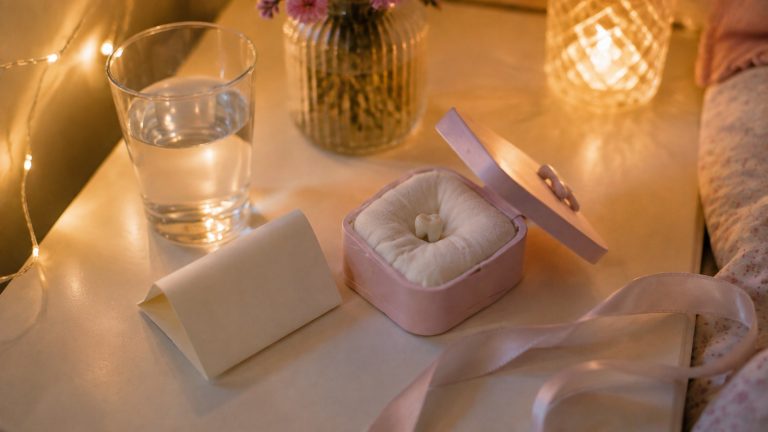
- Small envelope
- Tooth keepsake box
- Battery fairy lights
- Washable sparkle confetti
- Pillow pocket or pouch
- Special coin or small gift
- Printed fairy note
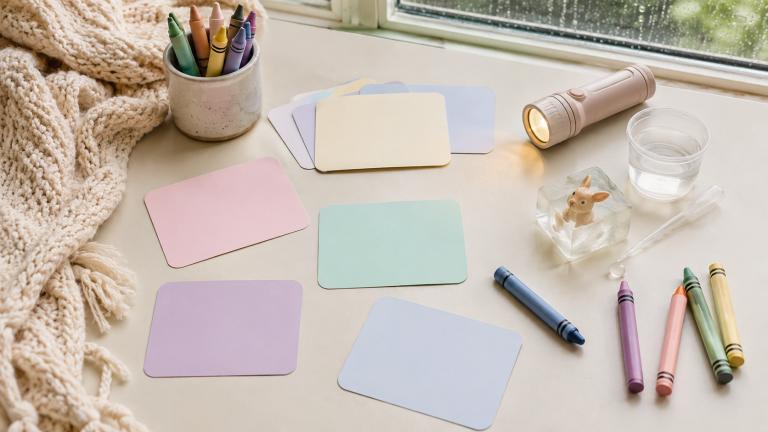
- Keepsake interview card
Before buying anything, ask whether something you own can do the same job. A favorite blanket, ordinary tray, familiar cup, or borrowed basket usually creates more warmth than a pile of new themed decor.
A low-stress plan
- 3 Days Before: Choose the version. Print only the pages you want. Use what you already own.
- Day Before: Gather the hero element, one food detail, one activity, and the keepsake page.
- Setup: Create one visual signal before the child enters the space.
- Arrival: Use the invitation, sign, or first clue to open the Moment.
- Middle: Choose a fairy name, draw the fairy’s flight path, or measure the tooth.
- Food: Serve the easiest option: sparkle toast or berry stars.
- Close: Take one honest photo and complete one sentence on the memory page.
Choose one or two activities
- Choose a fairy name
- Draw the fairy’s flight path
- Measure the tooth
- Write one question for the fairy
More activities do not make the memory more successful. Stop while everyone still feels connected. An unused card becomes an easy repeat version later.
Adapt it for ages 3 to 8
For ages 3 to 4, use picture cues, two choices, and a short sequence. For ages 5 to 6, add a real helper job and one simple clue. For ages 7 to 8, give the child ownership of one planning decision without asking them to run the experience.
The part worth remembering
Take five photographs at most: the untouched bedside setup, the envelope in small hands, the child’s gap-toothed smile, the morning breakfast detail, and the completed keepsake card. Then put the phone away. One honest photo and one sentence in the child’s own words will outlast perfect documentation.
Ready for the complete experience? Explore The Tooth Fairy’s First Visit. We planned the magic. You make the memory.
Use what you own first. If one thoughtful piece would make the setup easier, visit The Tooth Fairy’s First Visit Sources.